The `just` Menu — Control Panel
The template ships with around 150 just recipes covering everything from building ISOs to managing secrets. The interactive menu puts all of them a keystroke away — no need to memorise recipe names, consult the README, or tab-complete your way through a flat list.
Launch it with a single command:
just
Zero dependencies beyond just itself (pure Bash, no Python, no fzf). It works anywhere the dev shell runs.
Quick start
# Enter the dev shell (provides just, nixd, statix, deadnix, and more)
nix develop

# Open the interactive menu
just
If just is already on your PATH you can skip nix develop and run just directly from the repository root.
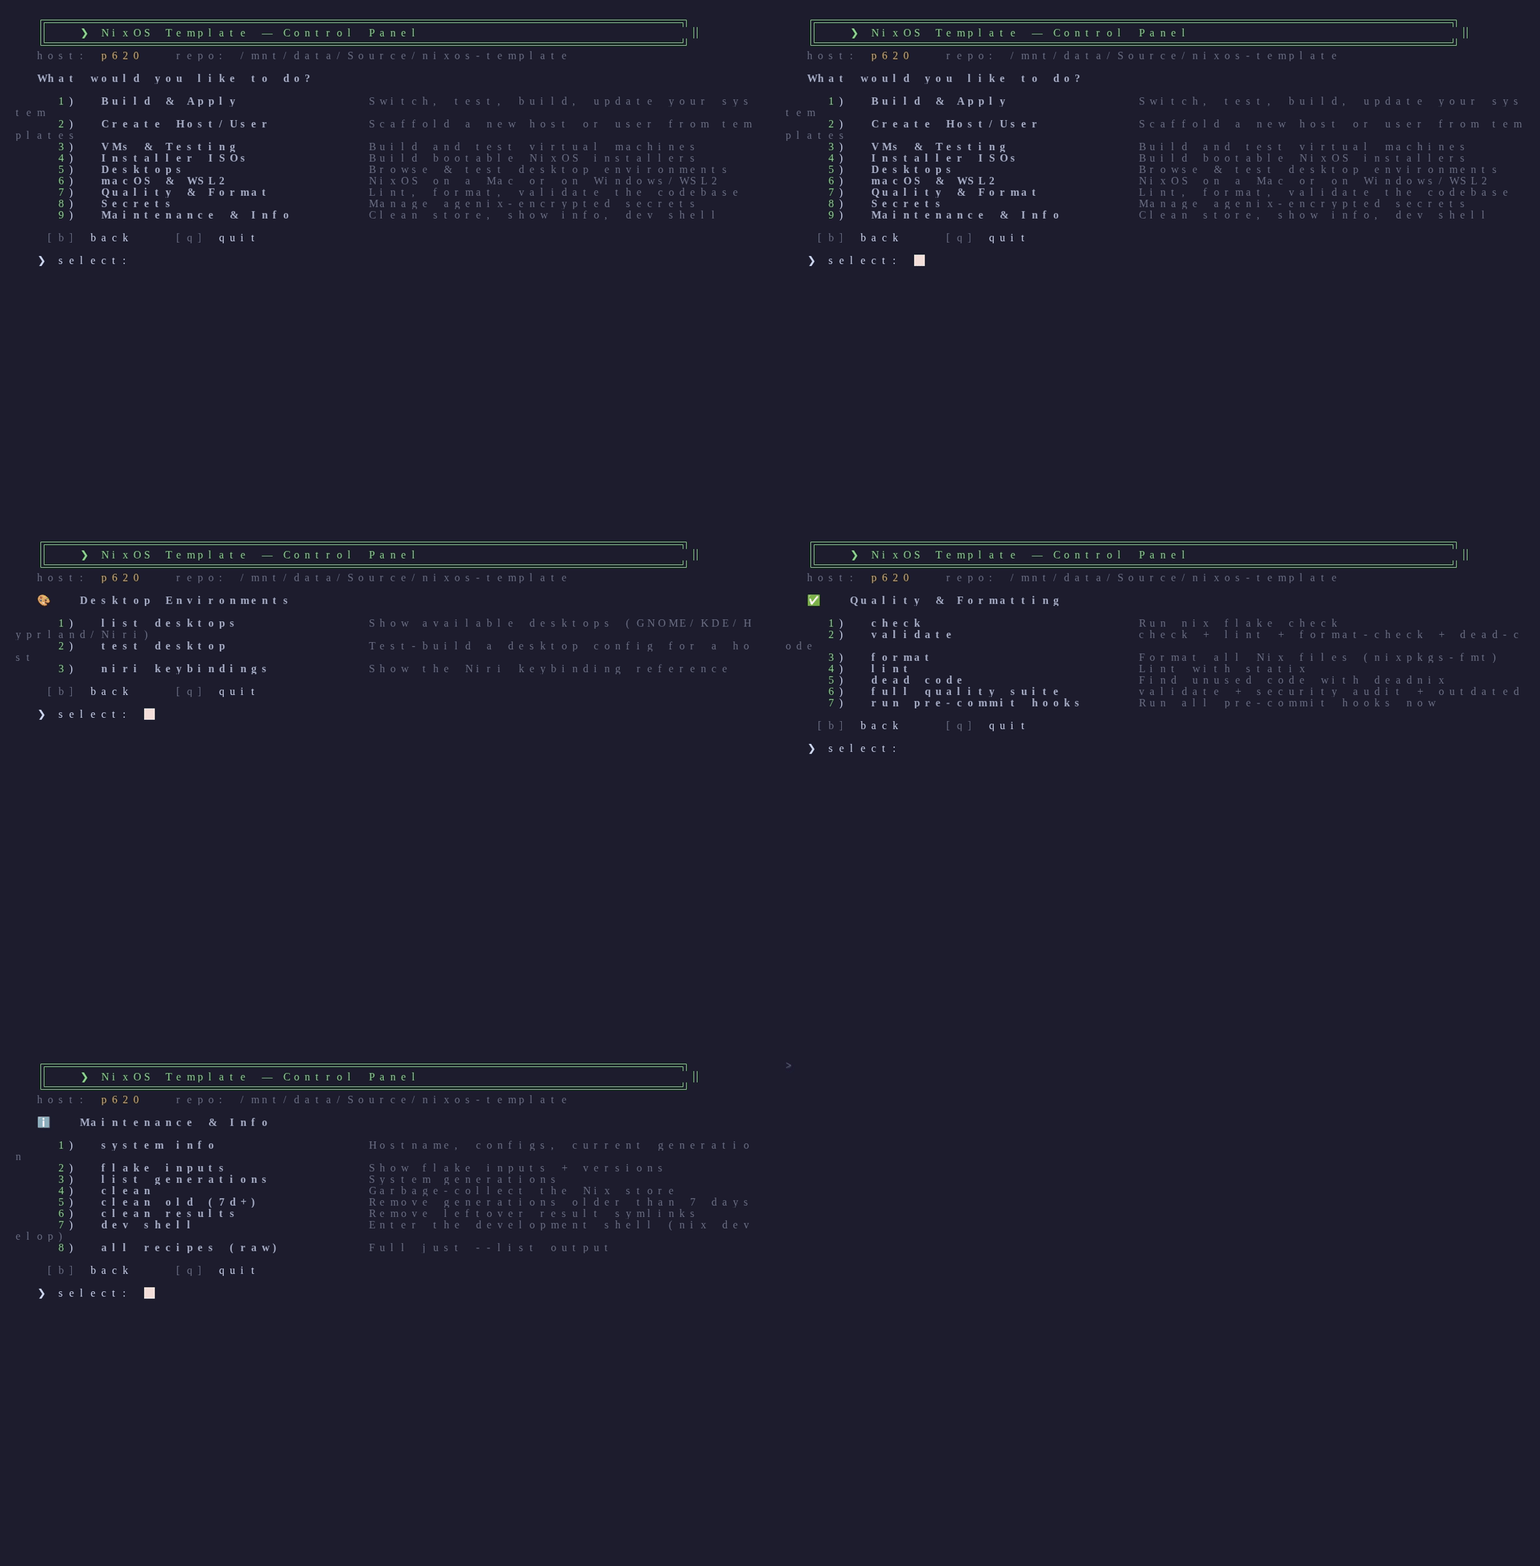
How it works
- Numbered categories are shown on the main screen. Type a number and press Enter to open that group.
- Numbered items appear inside each category. Each item shows a short description of what the recipe does.
- Command preview — before anything runs, the exact
justcommand is printed so you can see precisely what will execute. - Confirm prompt — type
Y(or just press Enter) to run,nto cancel and return to the category. - Navigation — press
bto go back to the main menu,qto quit at any prompt. - Host auto-detection — the menu reads your current hostname automatically. You are only prompted for a host argument when the recipe needs one that differs from the default.
- Guided prompts — recipes that require arguments (e.g. a host name, a secret name) show a prompt with a sensible default in brackets. Press Enter to accept the default or type your own value.
- Color-safe — ANSI colors are enabled by default and automatically disabled when output is piped or when the
NO_COLORenvironment variable is set.
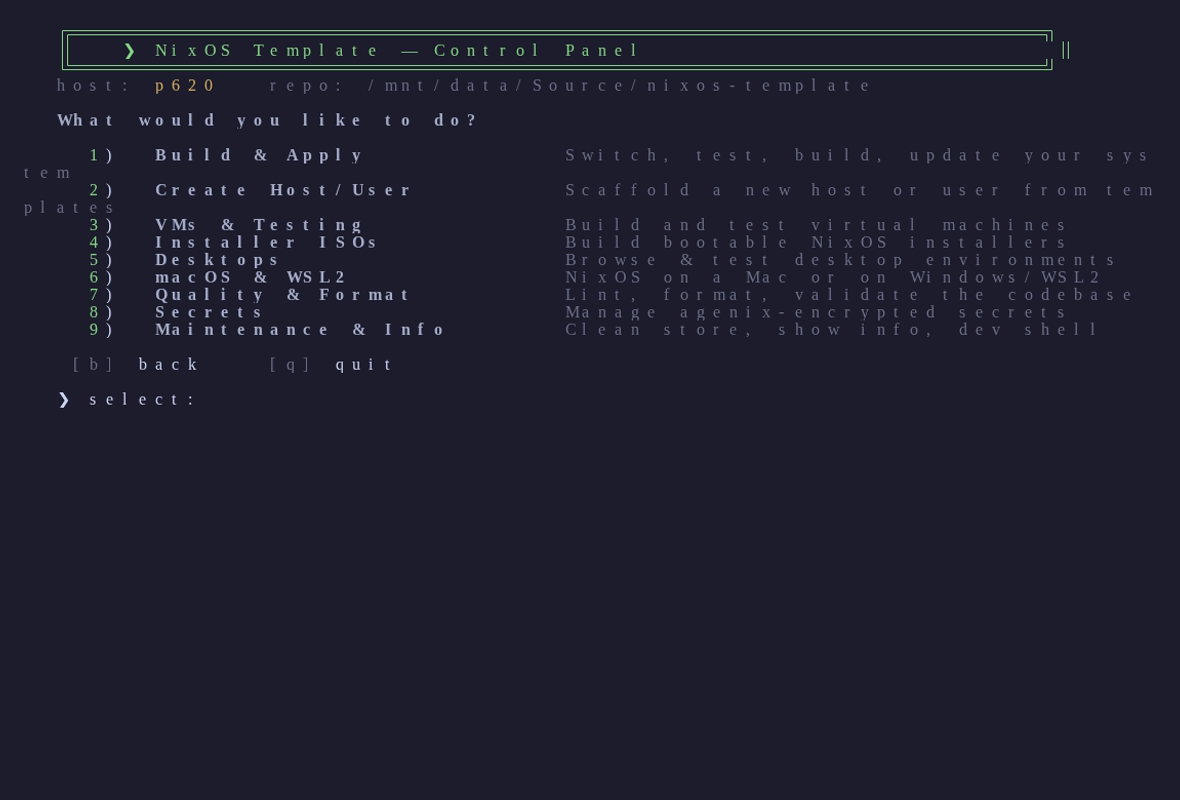
The categories
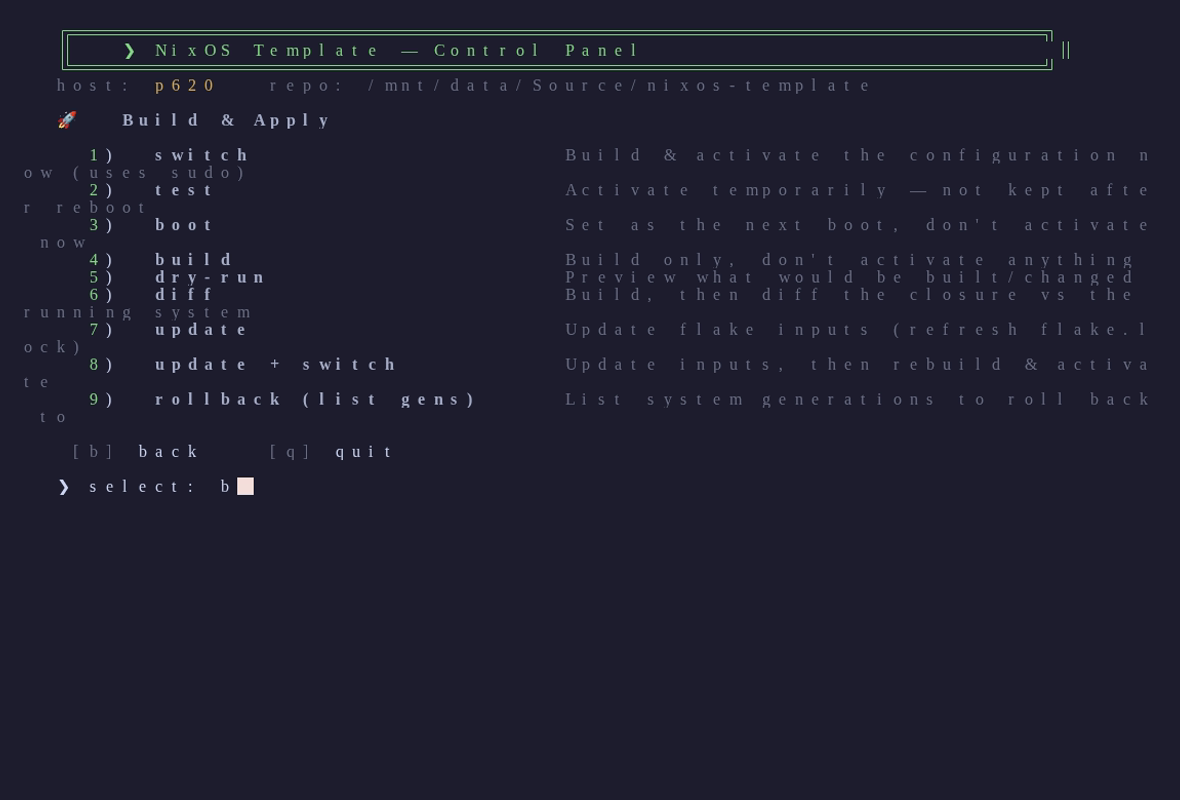
1. Build & Apply
Day-to-day system management: build, activate, and roll back NixOS configurations.
- switch — build and immediately activate the configuration (most common)
- test — activate without adding a boot entry (safe, temporary)
- boot — set the configuration as next boot without switching now
- build — build only; do not activate
- dry-run — show what would change without building anything
- diff — show a diff of store paths between the current and new configuration
- update — update all flake inputs (
nix flake update) - update+switch — update inputs then immediately switch
- rollback — list generations and roll back to a previous one
2. Create Host/User
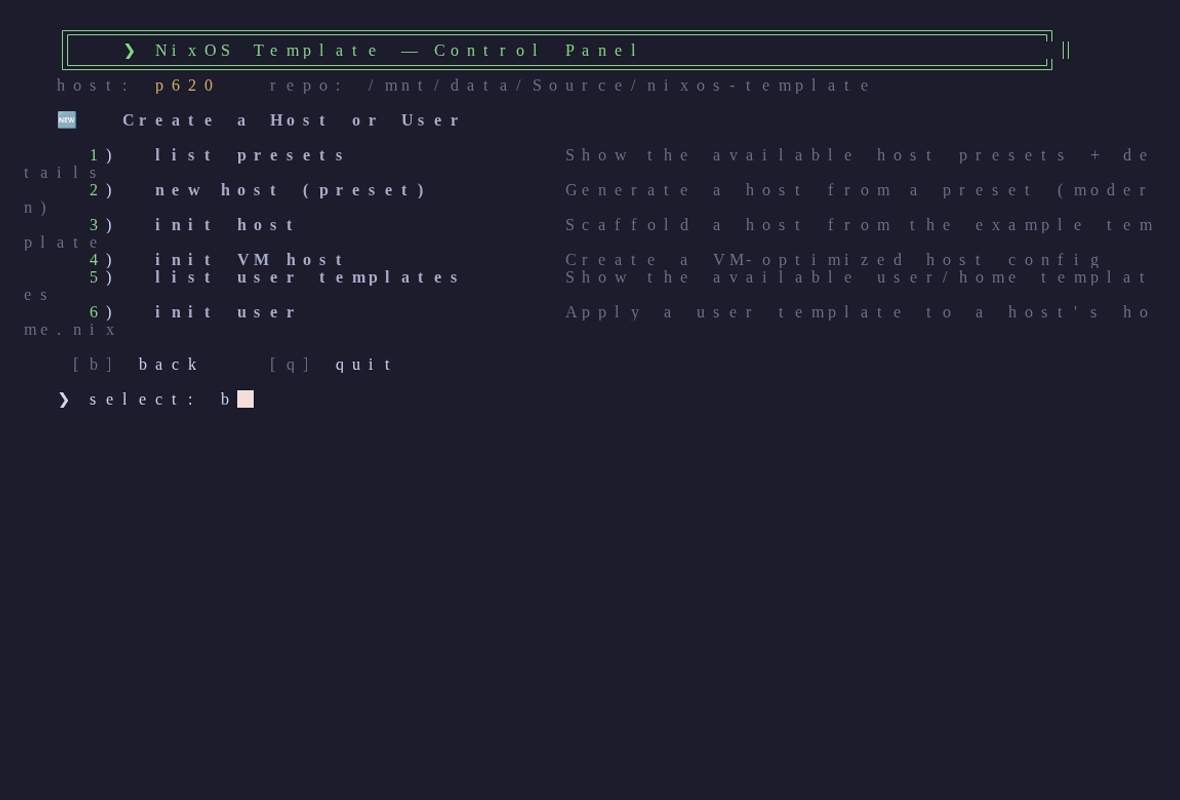
Scaffold new host and user configurations from the built-in presets and templates.
- list presets — show all available host preset types
- new host (preset) — create a new host directory from a named preset
- init host — initialise a host configuration interactively
- init VM host — initialise a virtual-machine host configuration
- list user templates — show all available Home Manager user templates
- init user — scaffold a new user configuration from a template
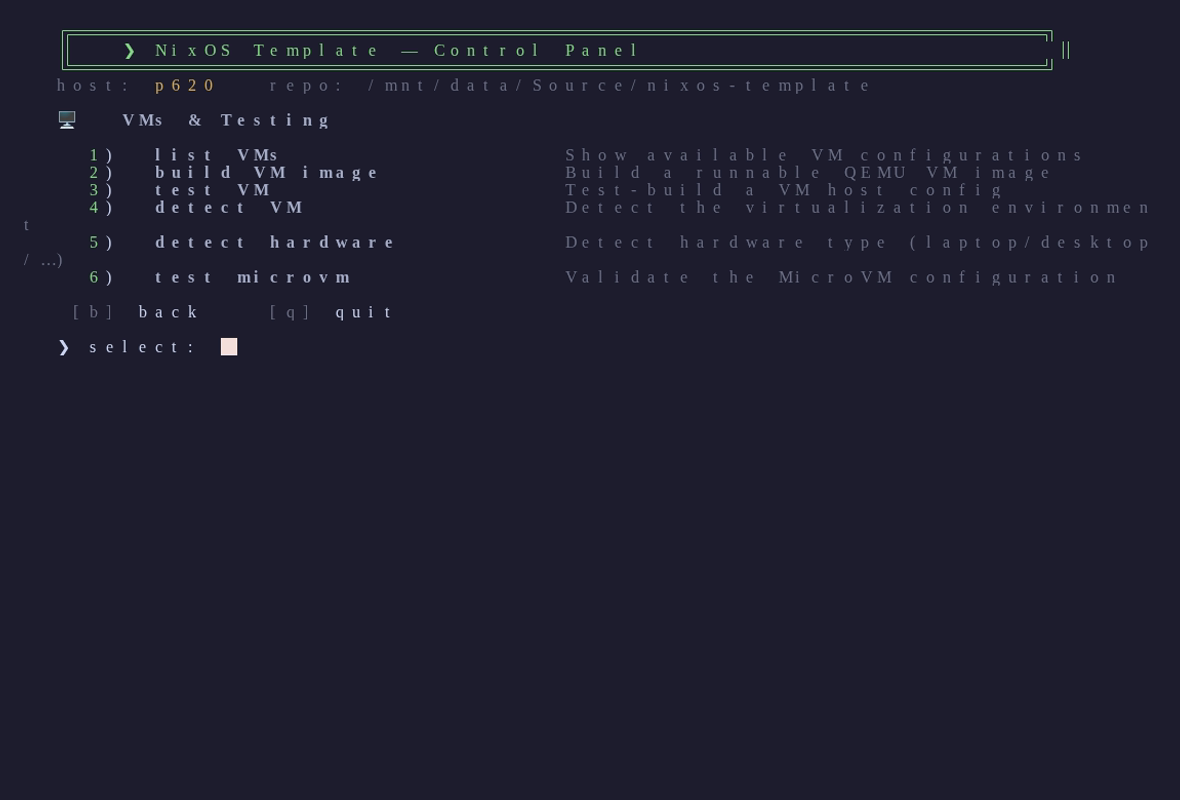
3. VMs & Testing
Build, run, and introspect virtual machine configurations.
- list VMs — show all VM configurations defined in the flake
- build VM image — build a VM disk image for a given host
- test VM — launch a VM in QEMU for interactive testing
- detect VM — auto-detect whether the current environment is a VM
- detect hardware — print detected hardware classes for the current machine
- test microvm — build and run a lightweight microvm instance
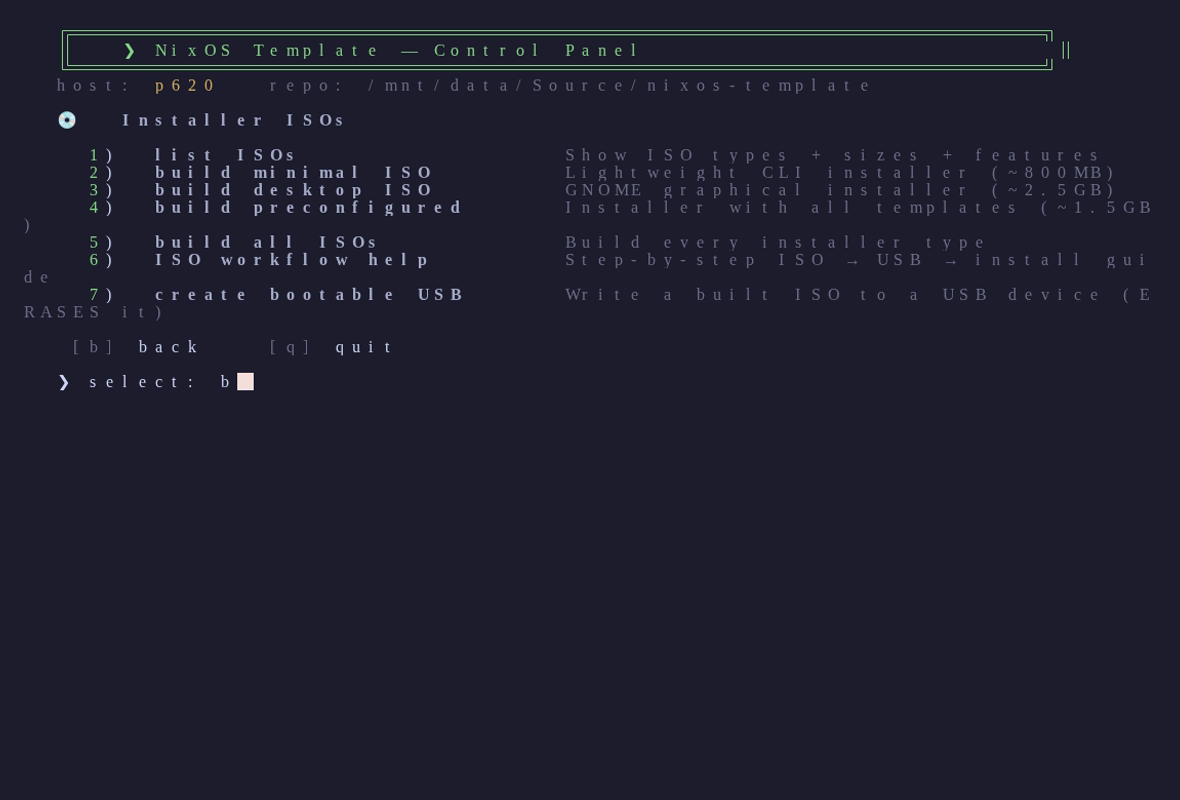
4. Installer ISOs
Build custom NixOS installer images ready to flash to USB.
- list ISOs — show all ISO configurations available in the flake
- build minimal — build a minimal text-mode installer ISO
- build desktop — build a desktop installer ISO with a GUI environment
- build preconfigured — build a fully pre-configured installer for a specific host
- build all — build every ISO variant in one pass
- ISO workflow help — print a quick-reference guide to the ISO build workflow
- create bootable USB — write a built ISO to a USB device with
dd
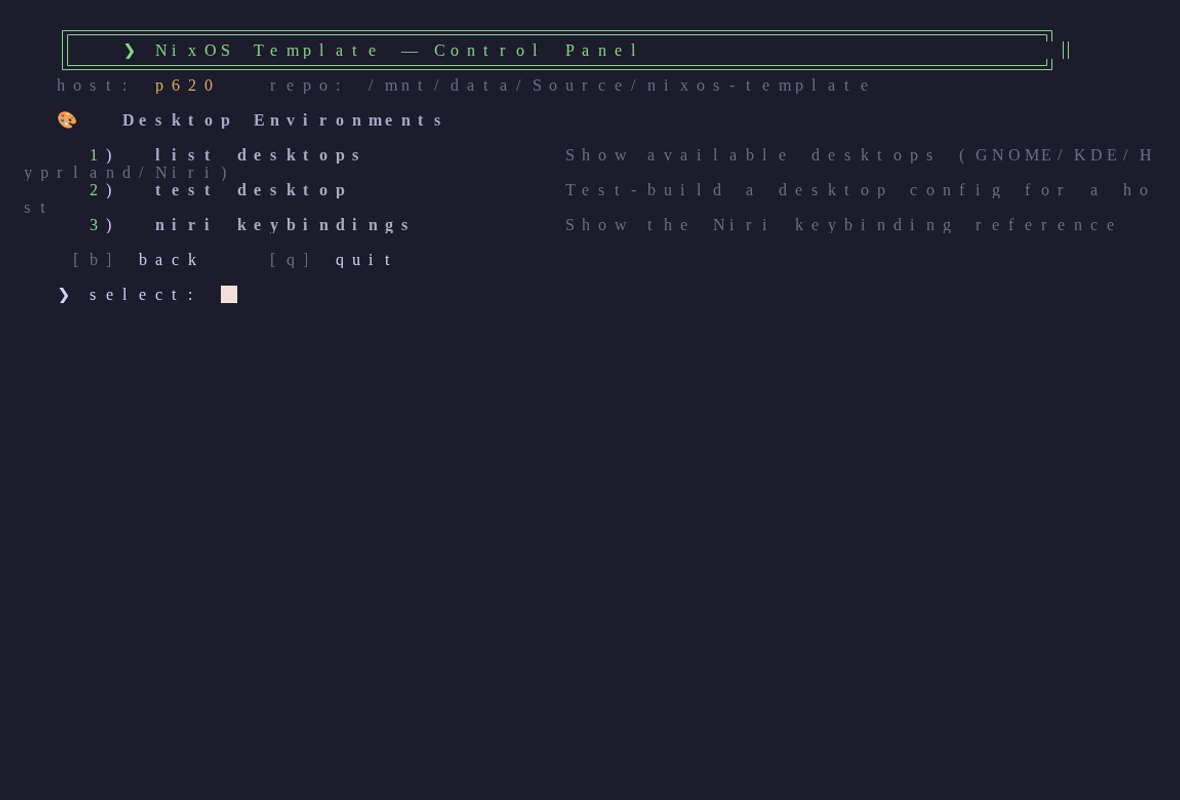
5. Desktops
Explore and test desktop environment configurations.
- list desktops — show all desktop profiles defined in the template
- test desktop — launch a desktop configuration in a VM for visual testing
- niri keybindings — print the default keybinding reference for the Niri compositor
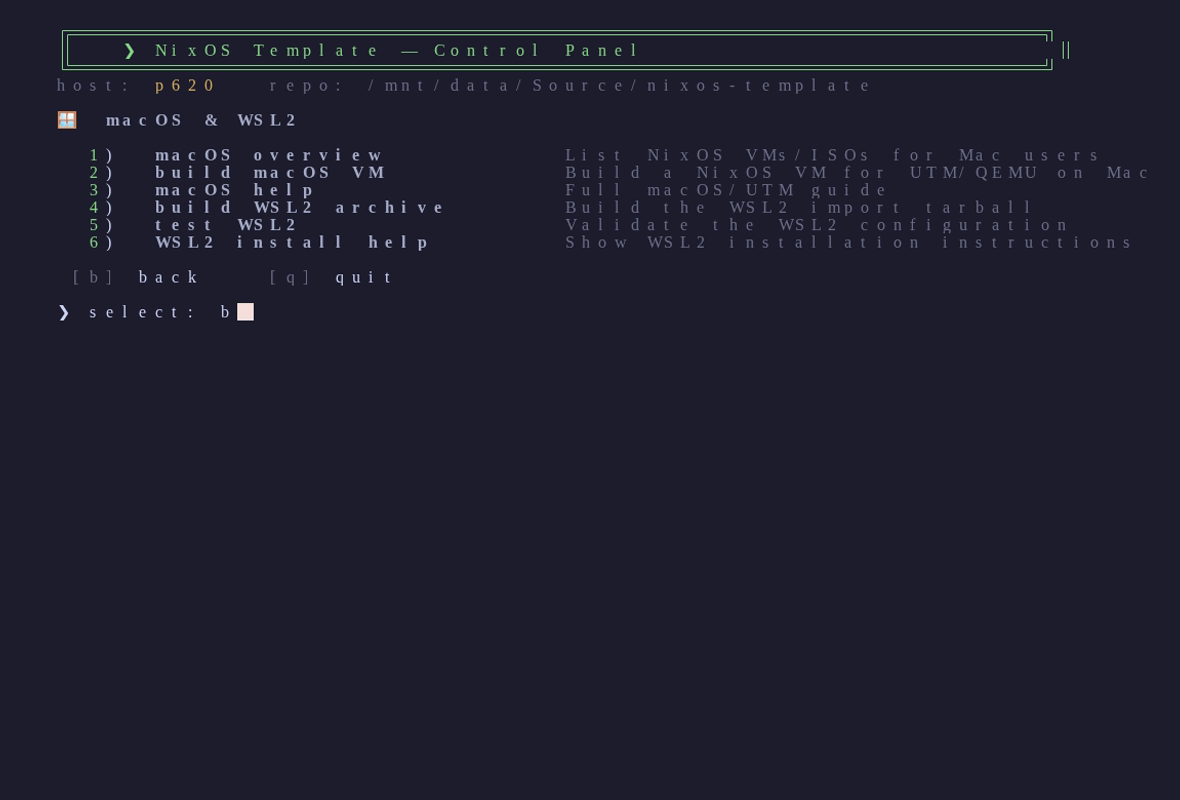
6. macOS & WSL2
Manage nix-darwin (macOS) configurations and WSL2 NixOS archives.
- macOS overview — print a summary of the nix-darwin setup in this template
- build macOS VM — build a macOS-compatible VM image for testing
- macOS help — show nix-darwin workflow tips and common commands
- build WSL2 archive — build a NixOS rootfs tarball ready to import into WSL2
- test WSL2 — run basic smoke tests against the WSL2 configuration
- WSL2 install help — print step-by-step WSL2 import and setup instructions
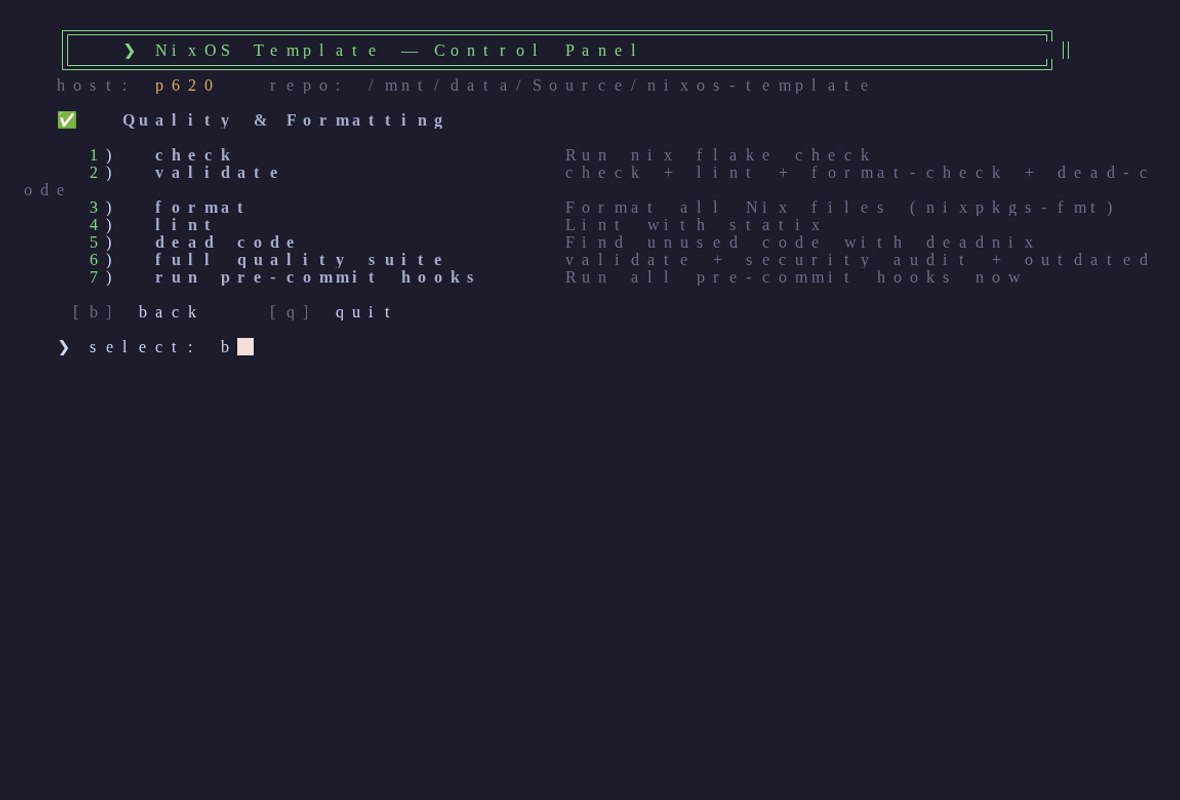
7. Quality & Format
Keep the codebase clean with linting, formatting, and pre-commit checks.
- check — run
nix flake checkto validate the entire flake - validate — run extended configuration validation checks
- format — format all
.nixfiles withnixfmt - lint — run
statixto catch common Nix anti-patterns - dead code — run
deadnixto find unused bindings and imports - full quality suite — run check, validate, format, lint, and dead-code detection in sequence
- run pre-commit hooks — execute all configured pre-commit hooks against staged files
8. Secrets
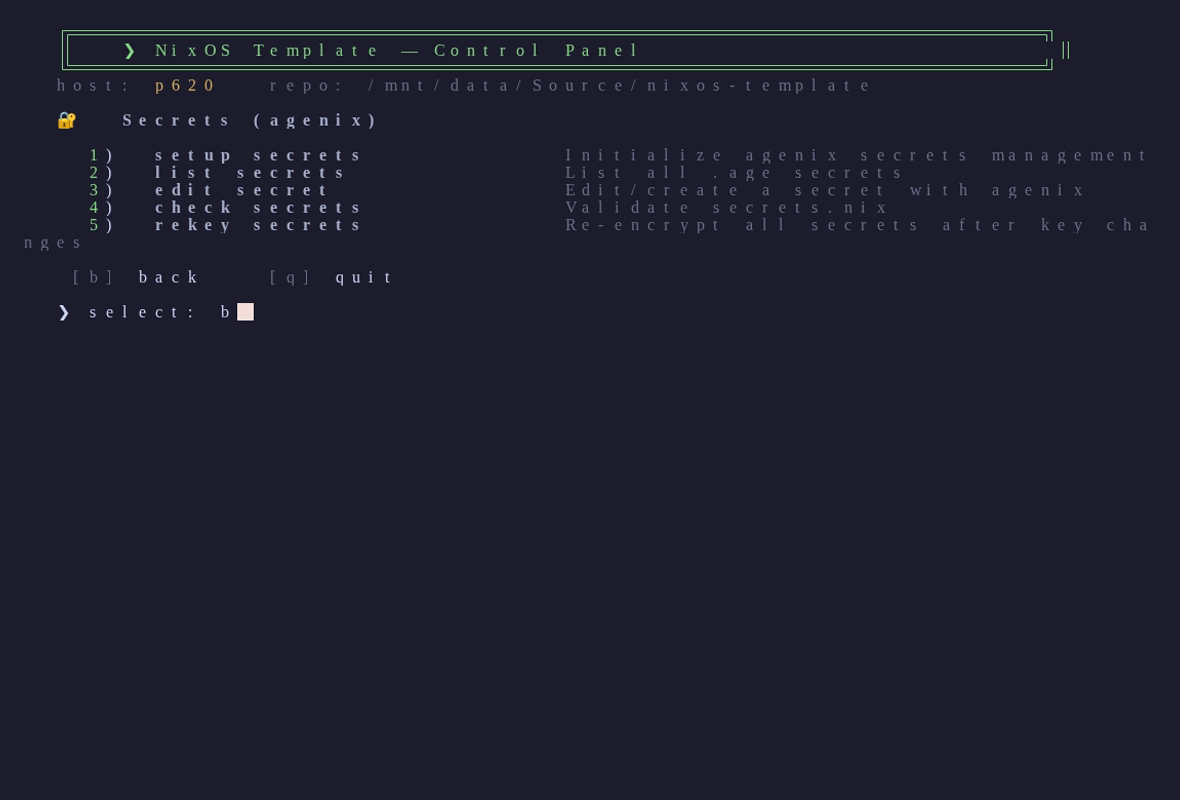
Manage age-encrypted secrets with agenix.
- setup — initialise agenix for this repository (generate host keys, create secrets directory)
- list — show all secrets currently managed by agenix
- edit — decrypt and open a secret in your editor, then re-encrypt on save
- check — verify that all secrets can be decrypted with the current host keys
- rekey — re-encrypt all secrets after adding or removing a host key
9. Maintenance & Info
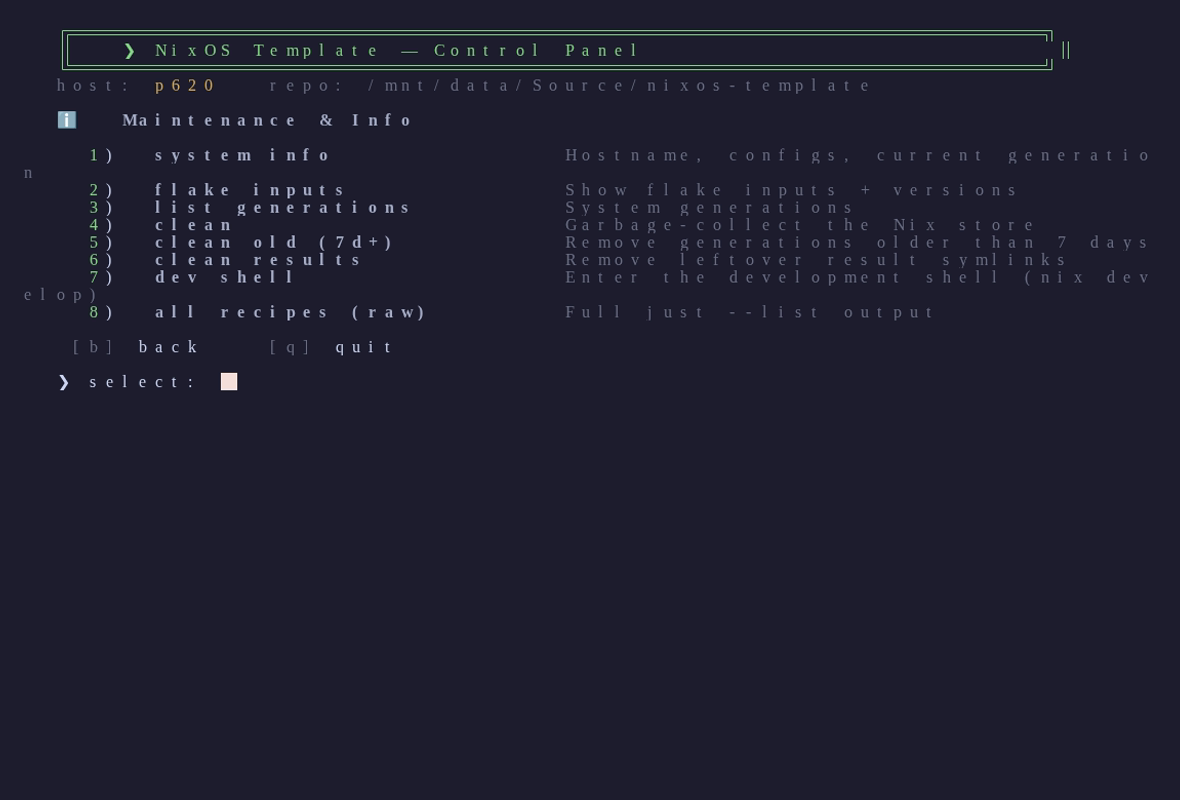
Housekeeping, store management, and reference information.
- system info — print NixOS version, hostname, hardware class, and flake revision
- flake inputs — list all flake inputs with their current locked revisions
- list generations — show all NixOS generations and their build dates
- clean — run
nix-collect-garbageto remove unreferenced store paths - clean old — remove all generations older than a configurable number of days
- clean results — delete
./resultsymlinks left bynix build - dev shell — enter (or re-enter) the development shell
- all recipes (raw) — run
just listto print every recipe without the menu UI
Power users
The menu is a convenience layer; every recipe is still directly callable:
# Raw recipe list (no menu, machine-friendly)
just list

# Run any recipe directly — same as always
just switch
just build-iso-minimal
just new-host my-pc workstation

# Pass extra arguments
just test my-laptop
just edit-secret api-key
just <recipe> bypasses the menu entirely and runs immediately, so existing scripts and muscle memory continue to work without any changes.